Table of Contents

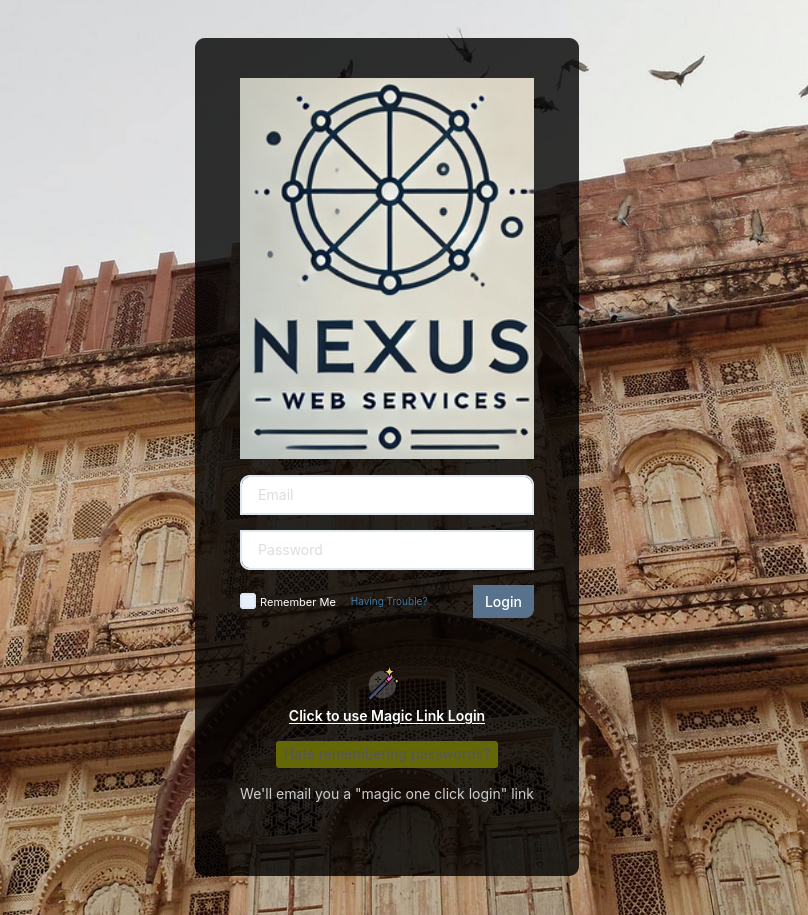
Nexus Portal makes it easy for your clients and staff to log in securely through a fully branded portal. Once you’ve completed the onboarding process, Nexus SureHost will set up your portal. This guide explains how you can manage and update your login portal settings, including customizing the domain and subdomain for your company.
Steps to Manage Your Login Portal #
Step 1: Access the Portal Settings Page #
- Log in to your account at portal.nexussurehost.com.
- Navigate to the Portal Settings page from the menu on the left.
- Here, you’ll see options to manage your login portal, including branding and domain settings.
Step 2: Customize Your Login Portal Domain #
- On the Portal Settings page, locate the Domain Configuration section.
- Enter your desired domain or subdomain:
- Custom Subdomain: For example,
portal.yourcompany.com.
- Custom Subdomain: For example,
- Click Save Changes. Once saved, Nexus SureHost staff will review your request and configure your domain.
- Once configured, you can verify your domain by navigating to the updated URL.
Step 3: Test Your Login Portal #
- After Nexus SureHost completes your domain setup, visit your custom URL to verify the changes.
- Confirm that your logo, company branding, and login interface appear correctly.
- Log in as an Admin to ensure functionality is intact.
Tips for Success #
- Use a Branded Subdomain: Choosing a subdomain such as
portal.yourcompany.comhelps reinforce your company identity. - Keep Your Logo High Quality: Upload a clear, high-resolution logo during onboarding for the best display.
- Test Your Portal: Always test the login portal after updates to ensure a seamless client and staff experience.


